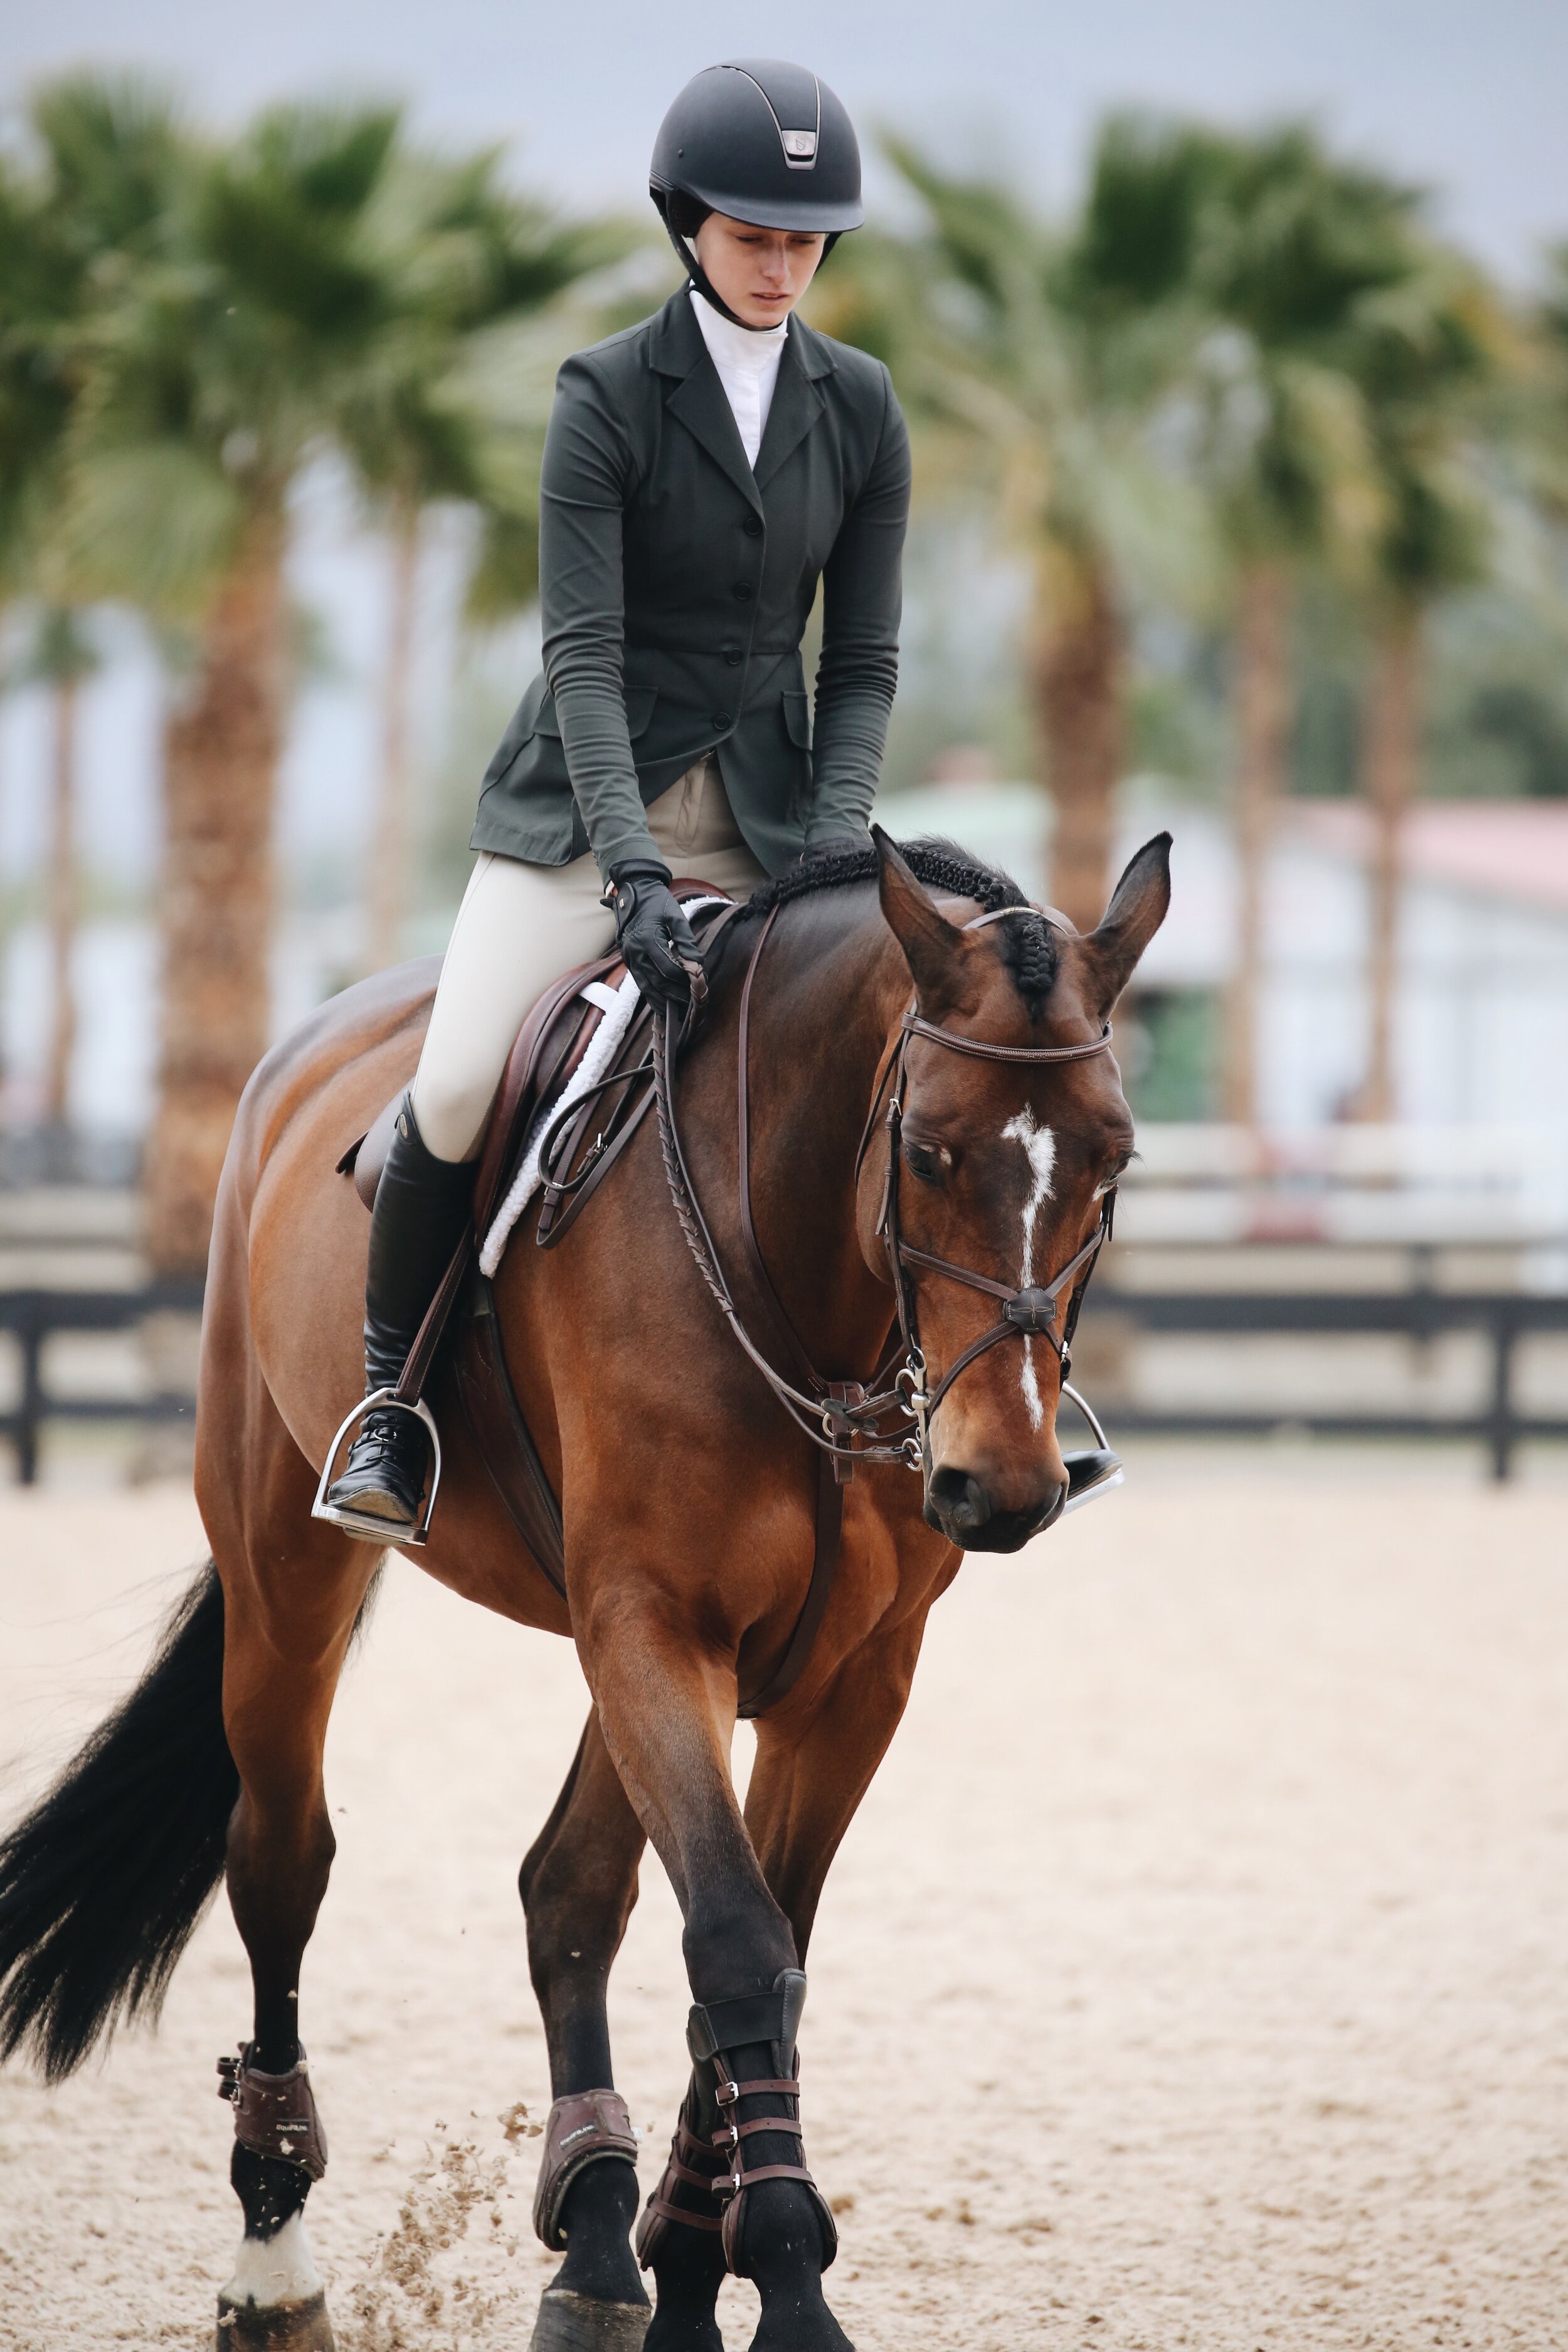
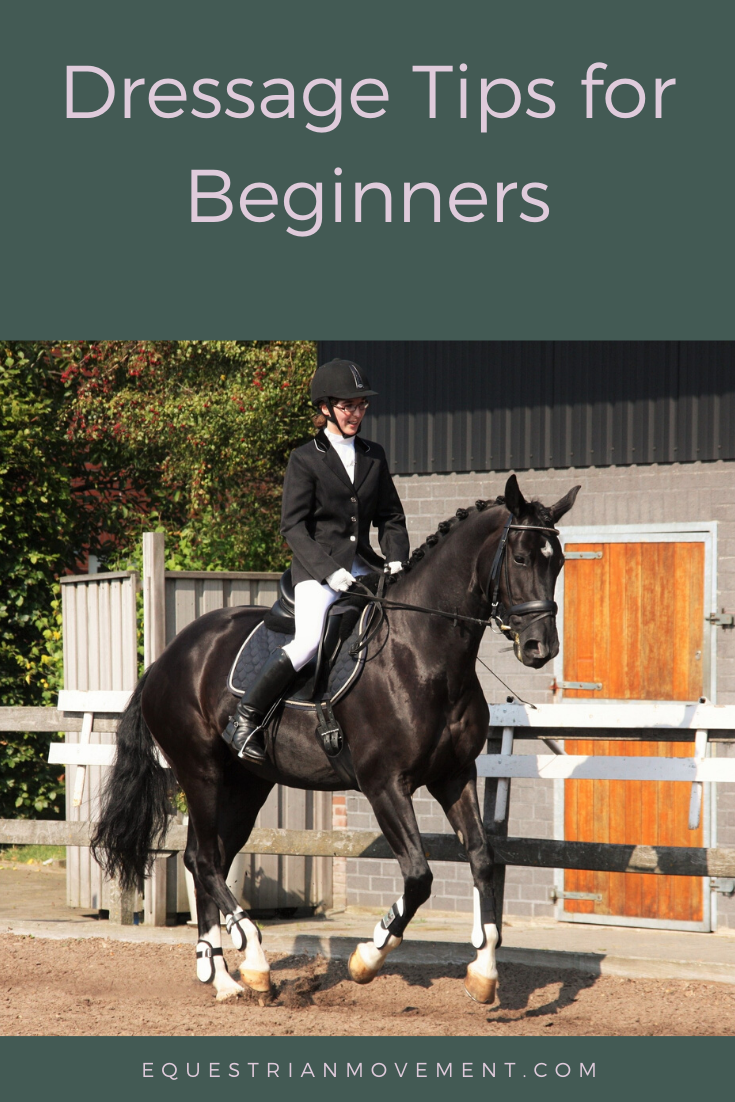
Dressage Tips For Beginners
Welcome to the club! But now, what SHOULD you know to succeed?
If you are new to the discipline of dressage, welcome!
This is an exciting time as you work in what is fondly referred to as the artistry of horse riding. However, there are a few tips I wish I had known before my very first competition - read on below:
Know your arena geometry
I can’t even begin to tell you how important this is. And how long it took me to realise it was important!!
I didn’t actually learn how to break down the arena movements and understand the geometry until I was training to become instructor. That’s 15 years of competing not knowing what a 20m circle was supposed to look like!
Of course, I was always going home with the comments “circle not round”, “circle too big” or “circle too small”. Once it was actually broken down for me it made soooo much sense why I kept missing the crucial marks here and there.

Don’t sacrifice your movement for your frame.
To begin with, you will be endlessly frustrated that you don’t have a frame. Once you get the frame though, it’s easy!
But if you’re constantly getting comments like lacking forward or lacking impulsion, then you’ve restricted the horses movement in asking it to come into a frame instead of enhanced it.
Don’t take competing so seriously
Just go to the competition for the outing and the experience for at least the first year. Anything else is a bonus!
Competitions are stressful, and not only do we put the stress of a new chaotic environment on our horse, butwe also ride them differently because we are trying to show their best potential and nail our accuracy. You are also competing against seasoned competitors who know the drill and professional trainers.
Just focus on you and your horses getting confident, relaxed and knowing what is expected of you.
Stay on the horse, stay in the arena. And if you don’t that’s fine too.
When you first go out, your first goal is to just stay on your horse and stay in the arena.
After you have gained more confidence with this (and yes, you might be able to do it at home, but the competition arena is a different kettle of fish), only at that point can you up the challenge and work next on relaxation and accuracy, then rhythm and tempo, then quality of bend and lastly frame.
Practise your test at home so you know it upside down, inside out and back to front.
This will help you know how much preparation your horse needs for each ask, helping with your accuracy.
It will help both you and your horses confidence to know what is expected of you.
It will definitely help you when you go to the competition and have to know your test.
Make sure you give yourself enough time in the warm up to be able to watch the test before you and read through the test as a refresher before you go into the ring.


Inside Leg, Outside Rein
Why is it touted as so important?
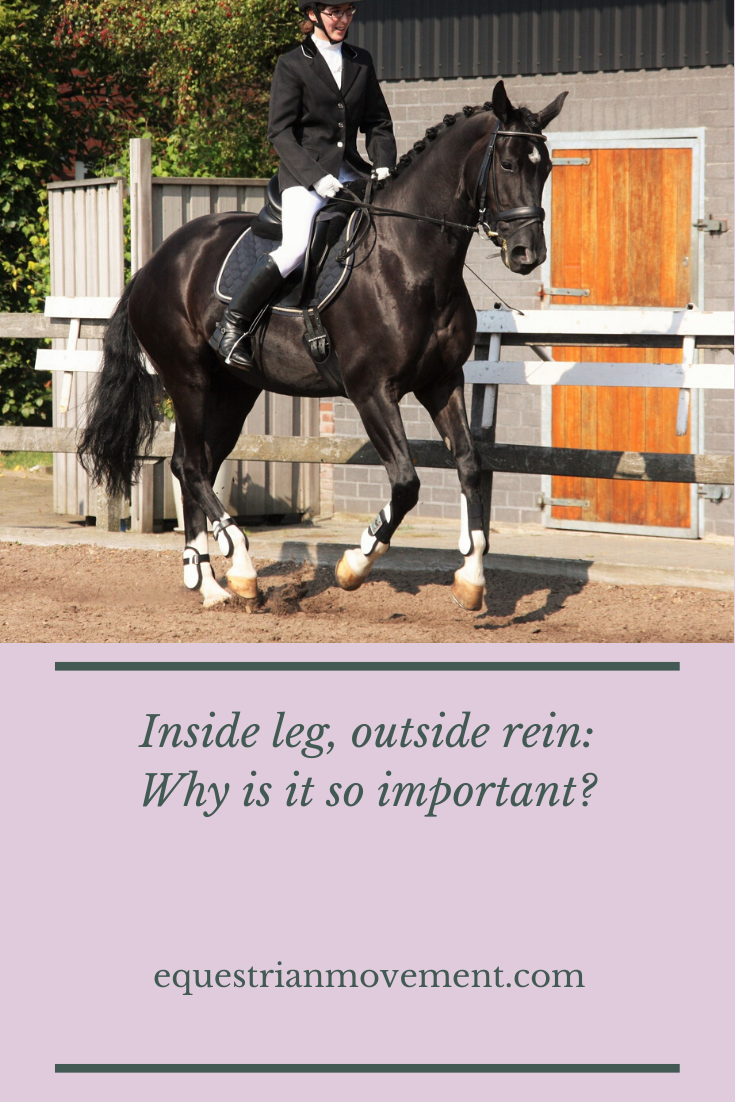
Why is this touted as being so important?
Inside leg to outside rein is considered the holy grail of riding, especially in dressage.
But it is just one piece of the puzzle.
Part of the reason it is touted to be so important is because it is often the first time a rider feels how the rein contact can affect hock flexion.
When the rein contact connects to the hindquarters instead of just the head placement, the movement and the horse comes so much lighter, softer and more balanced. It can truly feel like a magical moment that we pursue again and again.
One of the problems that commonly comes up with the development of inside leg to outside rein is that our horses love to cheat! They love to find the best way of keeping us happy with minimal effort on their behalf, and so instead of sitting deeper into their haunches they twist their pelvis. We will find our inside leg to outside rein normally works really well one way (normally the left), the direction our horse likes to bend to and not so well the other way.
We feel it not working so well because we have too much weight in the inside rein and no weight in the outside rein (normally the right). This is often not picked up by the rider though, because most of us are right handed and more comfortable feeling the extra weight in the right hand and not the left.
Inside leg to outside rein is also where we learn how to drive into contact. It starts us down the pathway of elevation and impulsion. Because it shows both us and our horse how to stay sitting in the haunches and push off their haunches, we start to learn how to recycle the energy and establish connection.

When we establish connection we start to communicate through our seat, and this is where we really start to refine the art of riding. However, if our horse is working twisted through the pelvis, we end up getting stuck and feeling like we are going round and round in circles - never moving forward.
So not only do we need to be able to ride inside leg to outside rein but we also need to be able to ride outside leg to inside rein, inside leg to inside rein and outside leg to outside rein. Because what we are truly doing when we ride inside leg to outside rein is connecting the action of the hind leg to the flexion of the rein. This can then shorten and lengthen the stride, collect, elevate and create impulsion. And what we are truly establishing when we connect the rein contact to the hock flexion is throughness, straightness and balance. We are asking our horse to distribute their weight evenly onto all 4 legs which engages their postural muscle and the core.
The whole purpose of dressage, the art of riding, is to lengthen our horses career through movement. That career is established by our horses musculoskeletal health, and their musculoskeletal health is dictated by the strength of their core and the suppleness of their back.

Getting Your Horse “on the Bit” is Easy...
What is riding on the bit and why do so many of us struggle with it?
Getting Your Horse “on the Bit” is Easy – Keeping Your Horse There is Hard
Riding your horse on the bit is both one of the easiest and hardest things you will do in your riding career.
The reason it is easy is because to get the horse to be on bit and flex at poll is the use of pressure & release to get your horses to give to the bit pressure.
The reason it is hard is because of the way the horse has to engage its core to do it well – which gets harder when we start moving!
In the same way that we can stand still and engage our postural muscles, it’s easy - but then you are asked to move, or run, or dance – not so easy.
These are the things we are expecting of our horse – to move gracefully forward with acceptance of the bit.
The actual teaching of the acceptance of the bit, to be on the bit, is easy; the hard part is conditioning the involved for the horse to maintain it easily and with forward movement.
Issues with attempting to get your horse on the bit when they aren’t conditioned to it:
False flexion
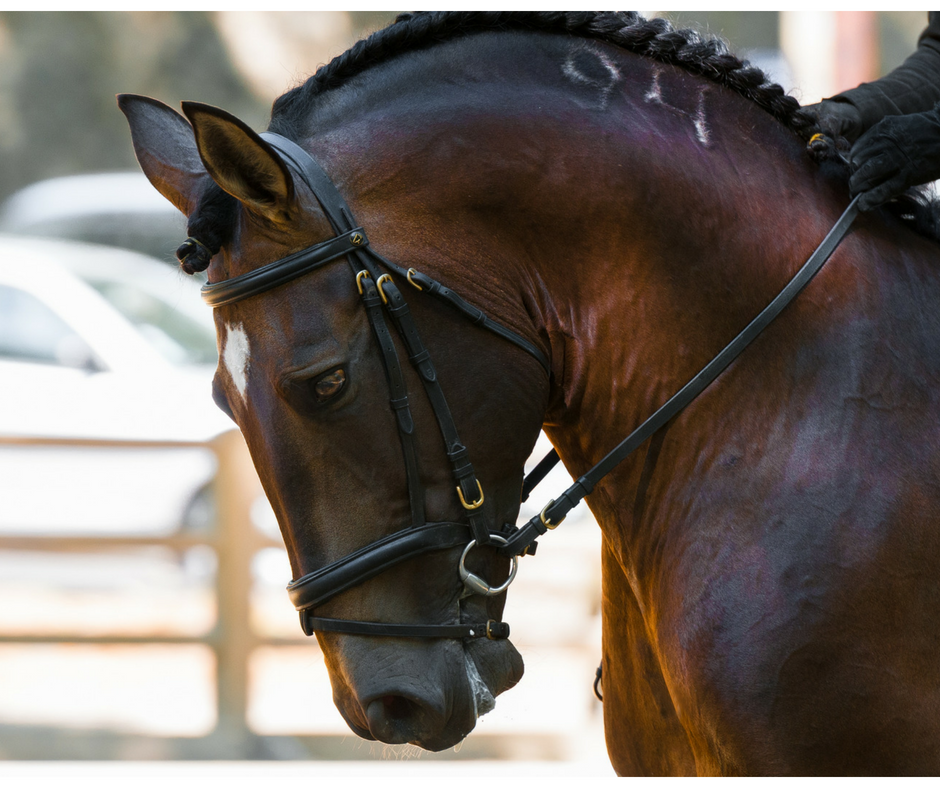
False flexion. Note the bend at the 3rd vertebrae.
The horse breaks away at the 3rd vertebrae as opposed to flexing at the poll and bringing its head on the vertical. This puts its head too deep, leading to them working on the forehand, pulling with the shoulders and then working behind the bit.
You will still get rewarded in your dressage test for your horse being slightly behind the vertical or slightly on the vertical but still on the forehand, but you will have comments like lacking forward or lacking impulsion. And that’s essentially because you have pulled the horses head down without learning how to ride them forward through to contact.
That is the conditioning work that we do to maintain the horse in frame while on the bit in forward movement.
Twisting Pelvis or Dropped Shoulder
We use bend to establish the suppleness for the horse to be able to put its head down in the first place. So rather than bending through the rib cage, they will twist through the pelvis or drop the shoulder. This allows them to put their head down without technically having to engage their postural or self-carriage muscles.
This further enhances them travelling on the forehand, pulling with their chest and shoulders, working with false flexion and working behind the bit.
Tips to work your horse to truly be ‘on the bit’
What being on the bit actually is is between being too hollow and too deep.
What I teach my students is to ride them forward, hands out of their mouth and let them be hollow. Then use their half halt (which you have taught them to give to bit through pressure/release), and they might come behind the bit slightly, or your just asking them to tuck their chin in, and then you want to ride them forward out of that again. You are using your circle work to keep them nice and supple. Eventually, the horse will develop its core strength and the stability of its postural muscles to be able to ride forward, into contact. So that when you ride your half halt, they don’t come behind the bit, and when you ride your forward, they don’t hollow.
What happens, though, is we get super excited that our horse is on the bit, and we want to keep them there, not change up the exercise or allowing strengthening. In doing that we end up with our horse coming behind the bit, behind the leg, and going on the forehand.
So it is important for us riders, in these first few stages where the horse is learning and developing how to work on the bit, to allow them to go hollow, and then bring them back in again, then letting them go hollow, and bring them back again.
You have to give your horse the 12 months it needs to condition their body to that exercise.

Using the half halt to bring them in and then letting them out forward and hollow allows the correct toning for the muscles during the development stage
It takes 6-8 weeks to develop the coordination and balance, followed by 3-4 months of muscle conditioning – the muscles they need to develop to actually hold their head there (we want it to feel natural and good for them to hold their head there while they are moving) – and finally, 6-12 months for bone and ligament density, so that this environmental stress that we have created in their bodies becomes part of their conformation. That’s when you can just hop on your horse and they are already there.
The ‘on the bit part’ is quite easy. The conditioning part is the hard part, where you are giving your horse the time and the environmental exposure for their body to adapt to it and be able to do it easily and maintain it consistently.
Obviously, part of that is you, as the rider, understanding how to apply the pressure release so their head can come down, but also having the sensitivity to know when your horse has come behind your leg, or when its dropped the hip, or fallen out through the shoulder, or when it’s not moving forward to your hands, or when it is not moving forward with thoroughness.
All of these parts of part of your journey as a rider to learn, so that you don’t inhibit your horse’s range of movement.
You don’t want to stress about whether the horse’s head is on the bit or not, you want to learn the foundations of how to work the horse correctly into contact. And once you learn those foundations, and apply those exercises, the horse will come onto the bit.
The ‘on the bit’ part is just the last piece of the puzzle of good self carriage from your horse.
Foundations of Equine Development Green to Self Carriage program is coming soon - register your interest here


Can't or Won't? What is your horse telling you?
Why won’t my horse stop? Why can’t my horse canter? Understanding the difference between can’t and won’t might help you progress your horses’ training to the next level.
Know the Difference between Can’t and Won’t
It is amazing the number of people that refer to their horse as naughty.
"Why won't my horse canter?"
"Why wont my horse stop?"
I always ask: won't, or can't?
What’s the difference?
A horse that CAN’T do what you requested is a horse that either lacks the physical capability to perform the task (either due to lack or fitness or a break from training), or lacks the understanding of what you want.
A horse that WON’T is a horse that understands what you have asked and can physically perform the task, but won’t do it.
How can you tell the difference?

A horse that can’t do the task will attempt to give you something. Consider the aids you are applying and the response you achieved. Could one of those aids alone result in that response? Or was the response partially there but not complete – in which case, a definite win!
A horse that won’t do the task will often repeatedly do the opposite of what you request. This horse knows exactly what you are asking and is trying to avoid doing the 'hard work'.
Of course, all of this is only prefaced with the simple fact that you are having a proper conversation with your horse to start with - which is a whole other topic to cover off.
Is your horse telling you no more than yes? Your training could be the reason
Click here for more informationWhat can you do?
For a horse that can't do the requested exercise, you will first need to identify the underlying issue.
If the horse physically is restricted from performing the exercise, you will need to take your training down a level - or ten. If you don't know the training scales for horses, sign up to our newsletter to be the first to know when we release them!
If your horse has worked up the training scale and simply doesn't know which aids you are using, you will need to use the principle of pressure and release - simply reward the horse by releasing the pressure (and lots of pats!) for even a half stride in the right direction. Perform the exercise three times, then switch it to something your horse can do to keep him in a positive mindset.
A horse that 'won't' understands the exercise and can physically do it, he or she is just trying to avoid working hard, and is testing your resolve to the exercise. Again, pressure and release at the right time is key here - keep applying the aid until the horse follows the requested exercise - and remember to immediately release when he or she does so, so that doing the exercise is now easier than avoiding the exercise.
If you are unsure about the use of pressure and release, read our article on it here.
In the case where the horse becomes dangerous in his or her avoidance, I would recommend seeking professional advice - you can email us by clicking here.
So, the next time you say your horse can't or won't something, remember this, and rethink your situation.
Is your horse not doing something you want? Comment below or contact us here.


14 Tricks to Remember for Your Dressage Test
A few things to consider when you are out competing
Tips & Tricks of the dressage arena
Remember the first time you competed? Or maybe you are nervously awaiting your first competition...
Here’s a few handy tips for your first day (and second, third, so on):
The number 1 rule is to stay on the horse and stay in the arena. Everything else is a bonus.
Presenting in clean boots, jacket and tack is not mandatory but shows you respect the sport. Make the effort.
There is etiquette to follow in the warm up arena. Try to follow it.
It is highly likely you will be competing against people with more practice or skills then you. This doesn’t make you a loser – the fact that you showed up at all makes you a winner. Everyone has to start somewhere and that start is never at perfect.
If this is your horse’s first time, likely he will be nervous too. Rule number 5 is to teach your horse to be curious so he will be less flighty.
Breath.
Remember which way to turn at C once you enter the arena. It makes all the difference.
There is maths to learn in the calculation of the accuracy of the movements. Sorry, but true.
There are also letters to learn, and they aren’t in alphabetical order.
During your test, there are areas where the judges can’t mark you on the form. Use those spaces to ‘tune up’ your ride.
Don’t forget to salute at the end of the test, and make it obvious.
Your test score will depend on a combination of accuracy and the level of training you are at with your horse.
Remember, dressage is founded on the art of training your horse. Prep and Prelim are the foundation of training that set you up for success. Therefore, the only thing that score should matter for is where you can improve your training, not how you can get a ribbon.
And don’t forget to smile. You are enjoying an amazing sport partnered with your best friend. Not many other people get to do that!


What do the Dressage Letters REALLY mean?
What do the dressage letters mean, and how can you remember them in a test?

Recently, at our very first workshop, we were asked what the dressage letters mean. Or more specifically, why aren’t they A-B-C-D etc?
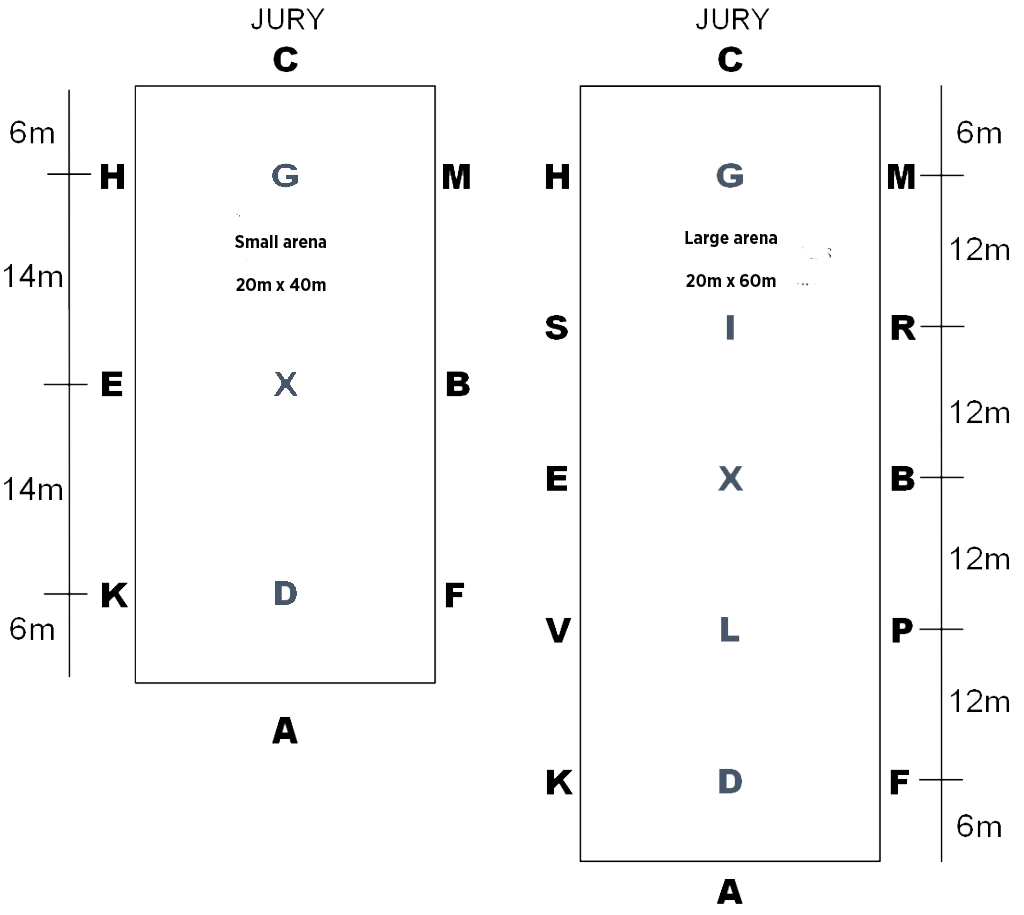
And it left us both a little stumped. Why isn’t it simple, and what do those letters mean? To start, let’s look at the dressage arena and the position of those letters.
In the 40x20m arena, the letters read A-K-E-H-C-M-B-F with D-X-G in the centre. In the 60x20m arena, there are a few extra letters: A-K-V-E-S-H-C-M-R-B-P-F with D-L-X-I-G in the centre. It’s certainly not straightforward, and no rhyme nor rhythm to the layout.
So where do these letters come from?
There are several theories as to where the letters came from, but unfortunately, the exact origin is no longer known.
The most plausible of the theories is to do with the Imperial German Court. Before 1918, markings where found on the walls of the stable yard of the Royal Manstall, which was used as an exercise yard and coincidentally measured thrice the length as the width – 60m x 20m! It appears these markings where to indicate the spot the groom would hold the horse in anticipation of his rider. The riders where (with the exception of A, which stands for Ausgang (exit) and C, which has no correlation):
K – Kaiser: Emperor/King
V – Vassal: Squire
E – Ehrengast: Honoured Guest
S – Schzkanzler: Chancellor
H – Hofsmarshall: Lord Chancellor
M – Meier: Steward
R – Ritter: Knight
B – Bannertrager: Standard Bearer
P – Pferknecht: Groom
F – Furst: Prince
There are no definitions for the centre line marker letters.
How can you remember the dressage markers?
When the letters have neither rhyme nor reason, it makes it difficult to imagine your dressage layout in the arena, and therefore your test. Unless you have a photographic memory (oh how I wish!), you may end up resorting to the use of a mnemonic – a phrase or short sentence that helps you remember initials or letters.
There are many examples of this, and feel free to share yours, but here are a few:
Clockwise from entry: All King Victor’s Expensive Show Horses Can Manager Really Big Plastic Fences
(or my personal favourite) All King Victor’s Expensive Show Horses Can Make Really Pongy Farts
Centre Line: Doing Lots Xtra Is Good
How do you remember the letters?
Looking for more specific content?
Have a question you are seeking answers to? Send us a message and we will create a blog!
Save your seat at this free webinar