The secret formula to riding a square halt
Do you know the real secret behind riding a square halt on your horse?
One of the things we get critiqued on in a dressage test is how to ride a square halt.
There’s a good chance that before you did your first dressage test your didn’t even know what a square halt was – you were just stoked that your horse stopped! (hopefully).
How do I make my halt square?
When I was first trying to figure this out, early in my dressage career, I would practice by going down the centre line and taking a peak over the shoulder. Darn, halt not square!
This resulted in me being at the halt and tapping on that leg, giving the horse a little niggle to move it into the square position – then the horse would walk off again. ARGH!
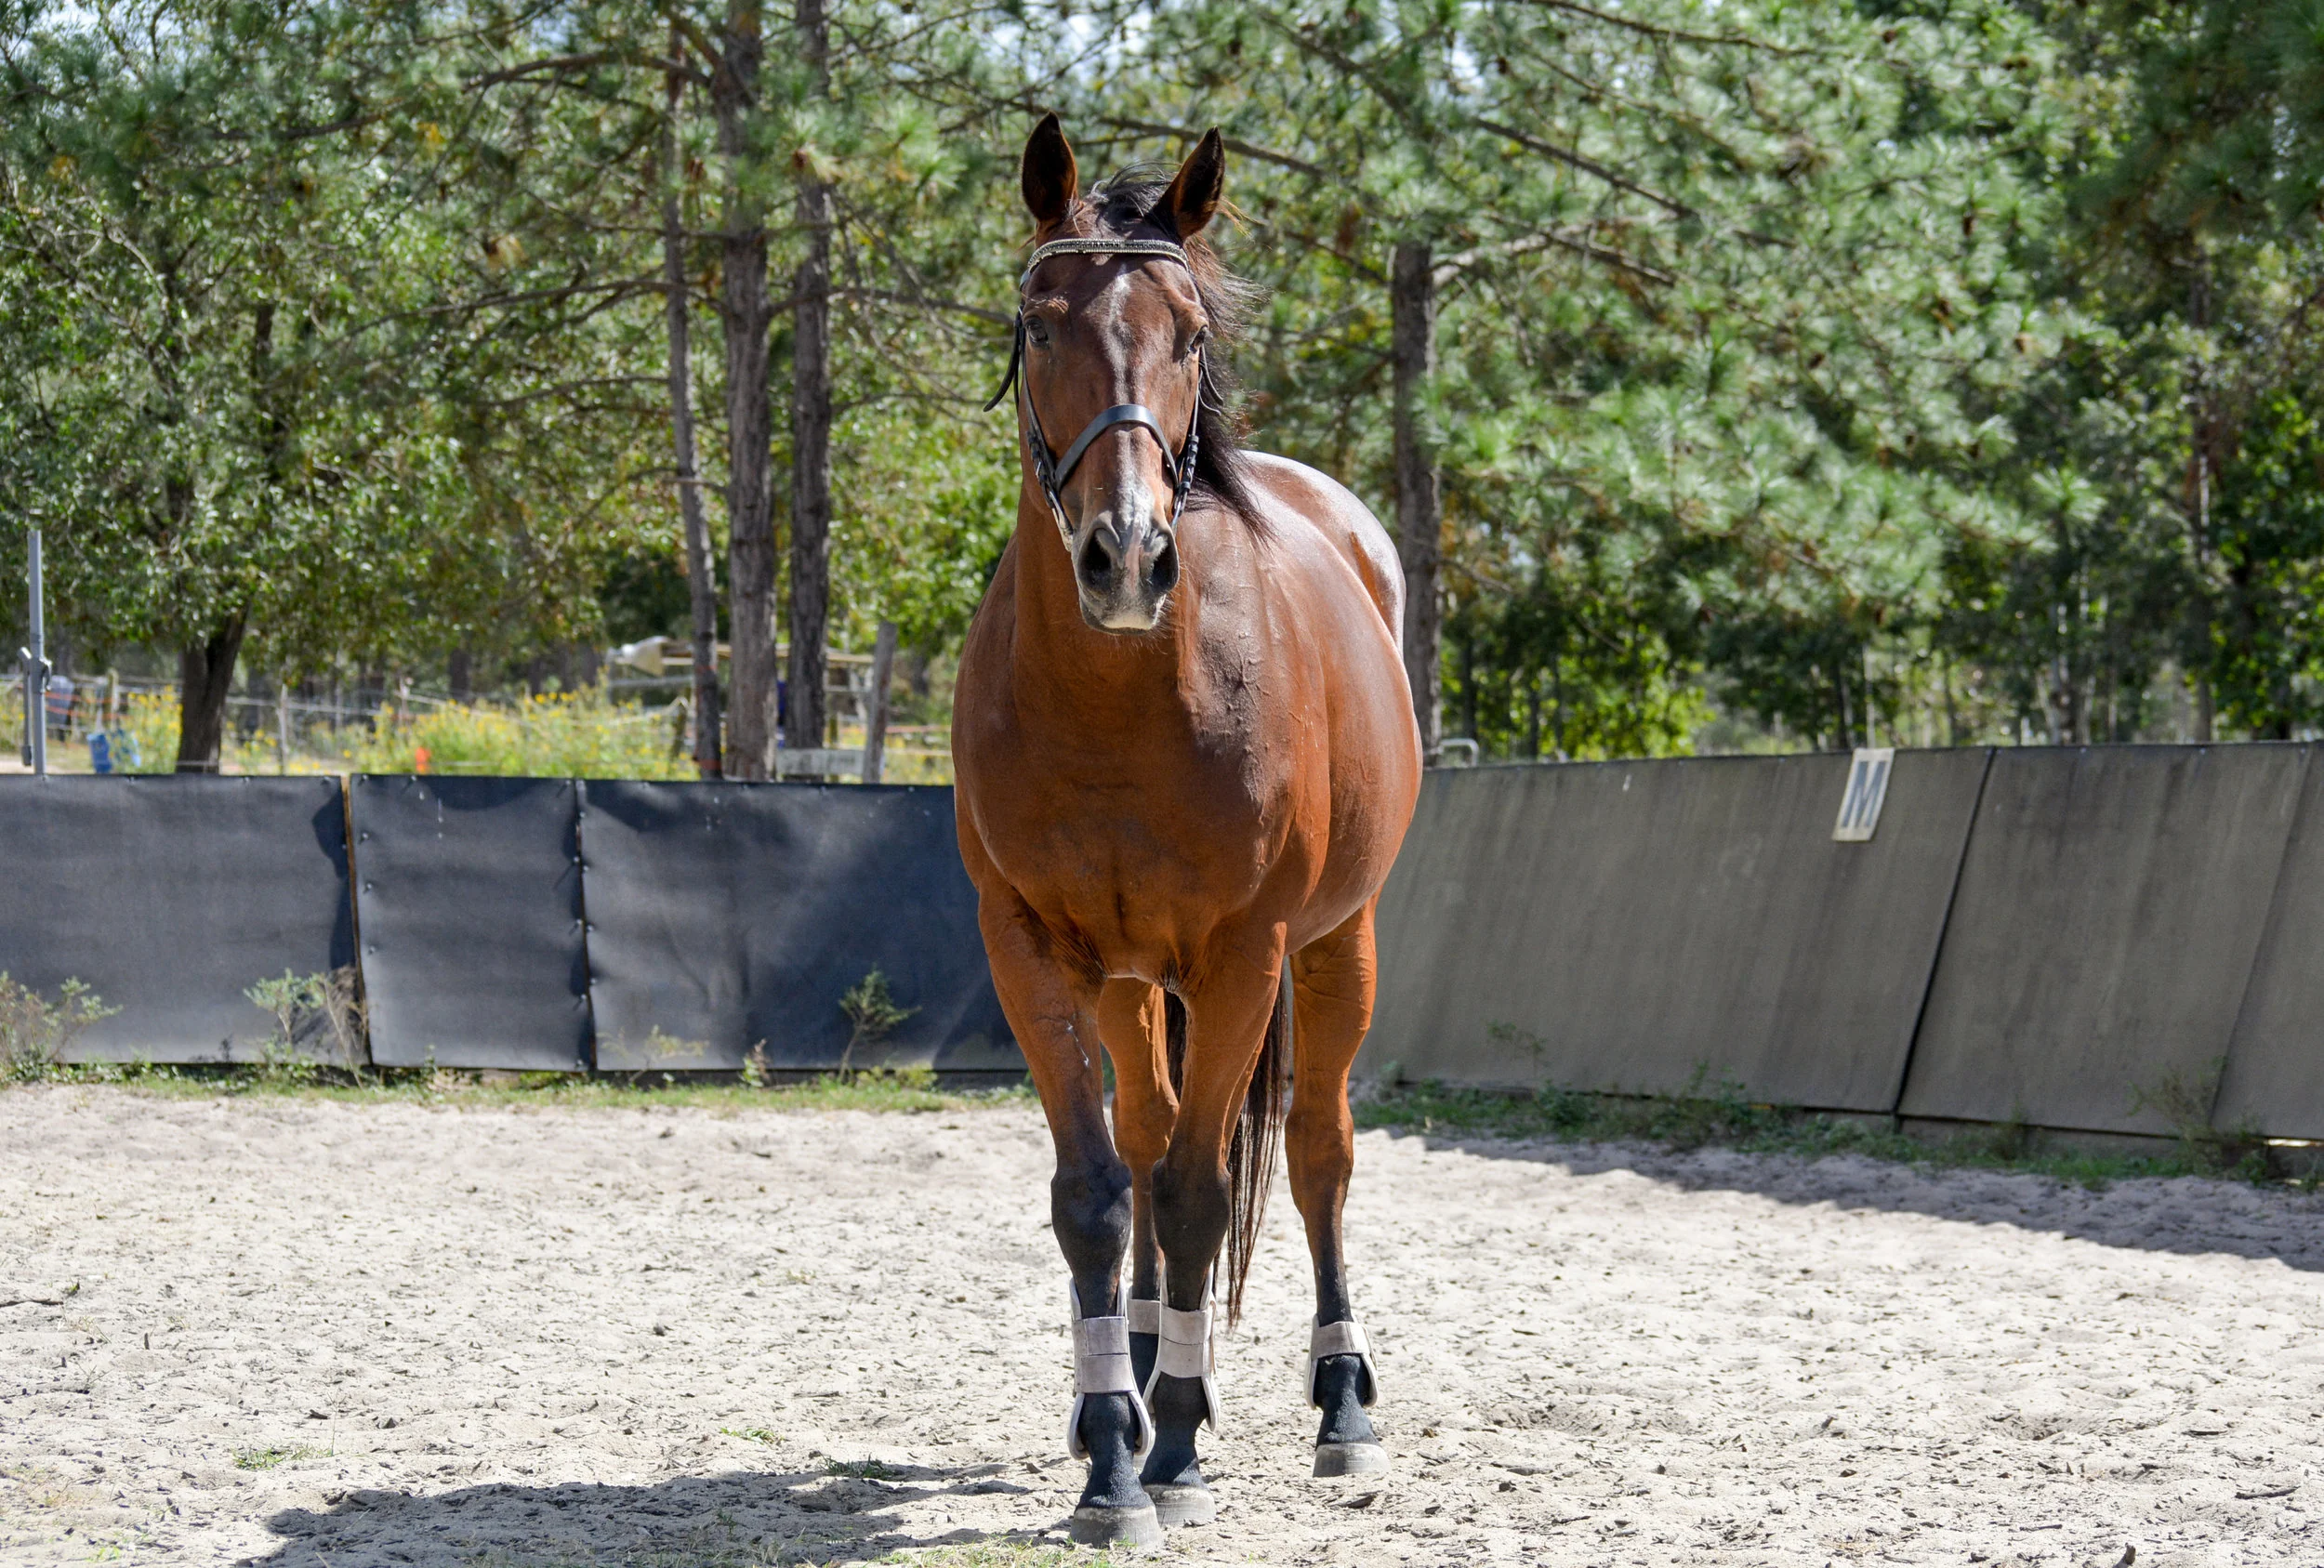
Here the standing base is narrow as he starts coming back into work before the shoulders and chest start developing
I’ve been doing a lot of research to see what other instructors advise, and it has a lot to do with the seat and riding the seat through, cuddling with your calves etc.
But that isn’t what I believe.
If you think about why we want a square halt in the first place it’s because we’ve correctly applied the training scale. It’s the founding basis of dressage, after all!
In doing this:

This mare is starting to square out and transfer weight onto her haunches from conditioning work
The horse is moving the weight onto the hind while distributing the weight across all four legs evenly
Engaging the stomach muscles
Showing relaxation
Showing swing
And still breathing
So my standard for a square halt is not because you are holding the horse there, but because the horse has engaged it’s postural muscles and is holding its’ own posture.
You want to see your horse standing square when you untack them. You want them to be standing square when you tack them. You want them to be standing square when you mount them, when you handle them, when you move them around. That’s an indication that when you are training them, you are getting them to use their posture correctly and distribute their weight across all four legs.
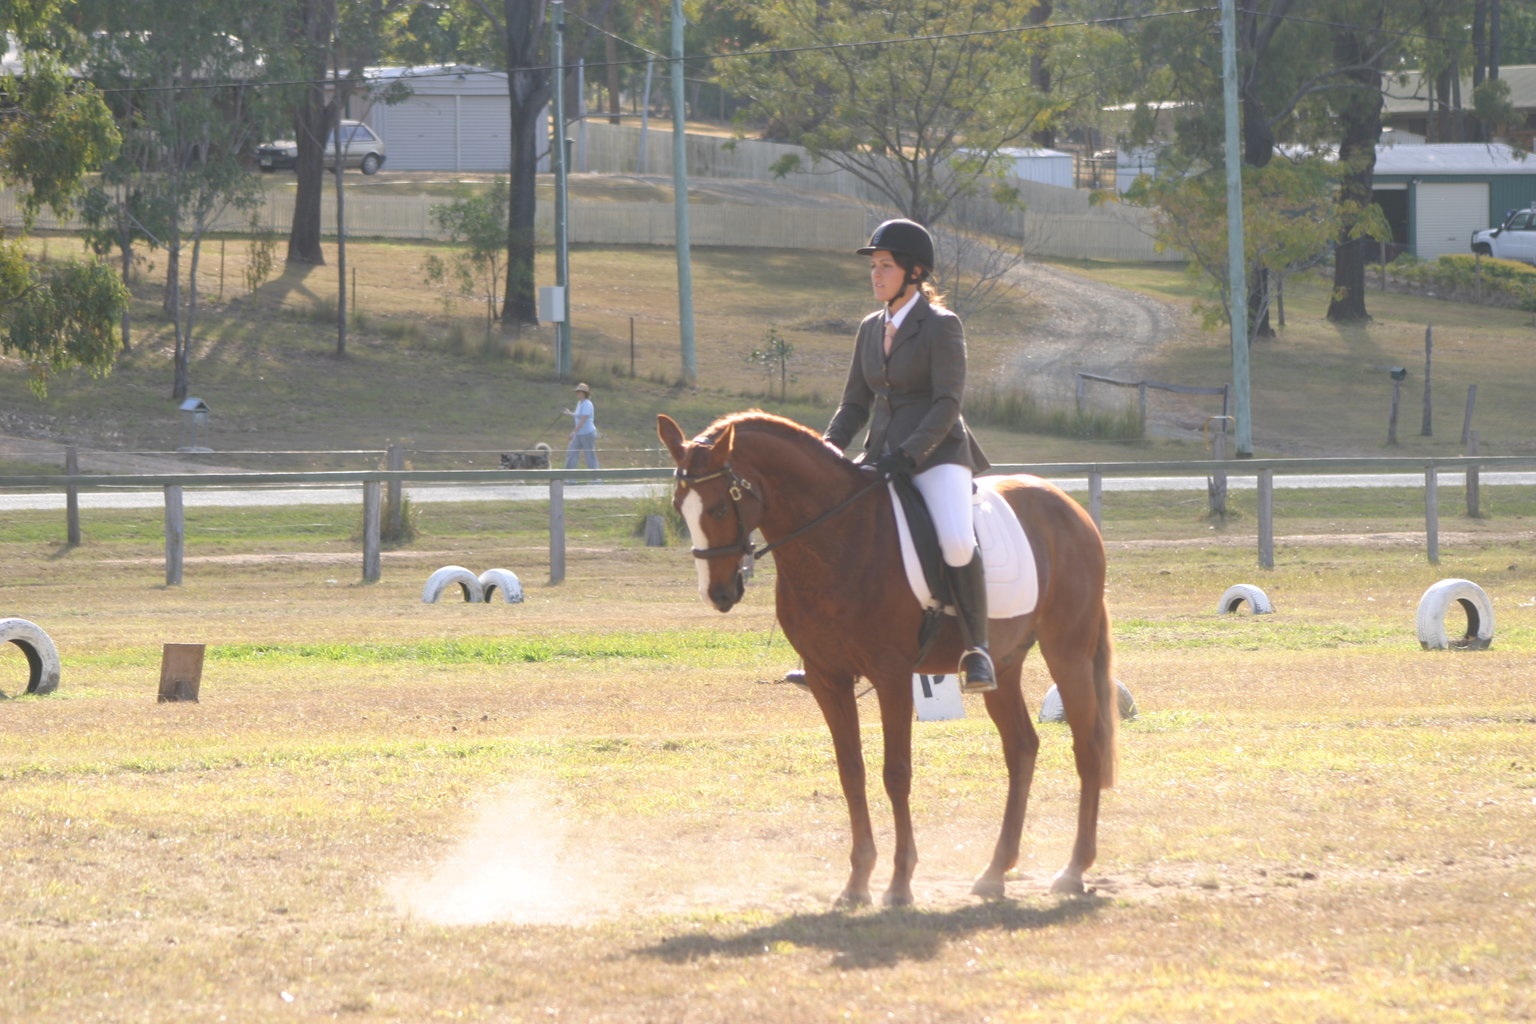
A proper square halt applied in a dressage test
If they are not standing square, if they are standing with one leg in front of the other, it’s a good indication of where you are going wrong (and need to improve) in your training, which is currently allowing them to work crooked.
If they are worked crooked, they are not going to stand square.
This expectation of your horse being able to distribute its’ weight across all 4 limbs evenly is the foundation of our training in Preliminary Dressage. Because it teaches our horse how to transfer its’ weight onto the back and hold the weight evenly on all four legs, and then how to pick its’ own body up into self carriage before we start asking it to collect.
One of the things that is often missed in Prelim is that we make the horses frame by holding the horses head down and using the whip to drive horse into our hands.
What we want to do is to be using our training exercises that develop the horses musculoskeletal system so it is balanced and even throughout its body, which result in it being able to hold its own posture and drive into our hands.
I don’t care if your horse can stand square because you put it there. I care if your horse can stand square because it put itself there.
That is the result of your conditioning, training and using your exercises to get your horse to engage its’ hind quarters, start transferring the weight onto its’ hindquarters, use its’ stomach muscles, start engaging in flexing its muscles along its back so that it is travelling forward with relaxation and swing and developing even thoroughness through each shoulder.
Obviously, using your seat, legs and hands correctly all play a role in this, but you learn about that when you learn how to ride your horse into contact anyway. If you are learning how to use your seat to ride your horse into your hands, you are learning how to use your seat to ride a halt. If you are learning to use your legs to ride your horse into your hands and learning to use your hands to ride into contact, you know how to ride a square halt because you are working the horse squarely into your hands.